Miryoku layout on the Glove80
I’ve been using the Glove80 as a daily driver in my home office for the past 8 months. It’s a fantastic board and very, very comfortable. When I received it, I toyed with the idea of learning a new layout and making use of all the extra keys, but thought better of it, since I still regularly use 36-key boards when going into the office/travelling.
Instead, I went with the tried and true Miryoku layout.
Physical layout
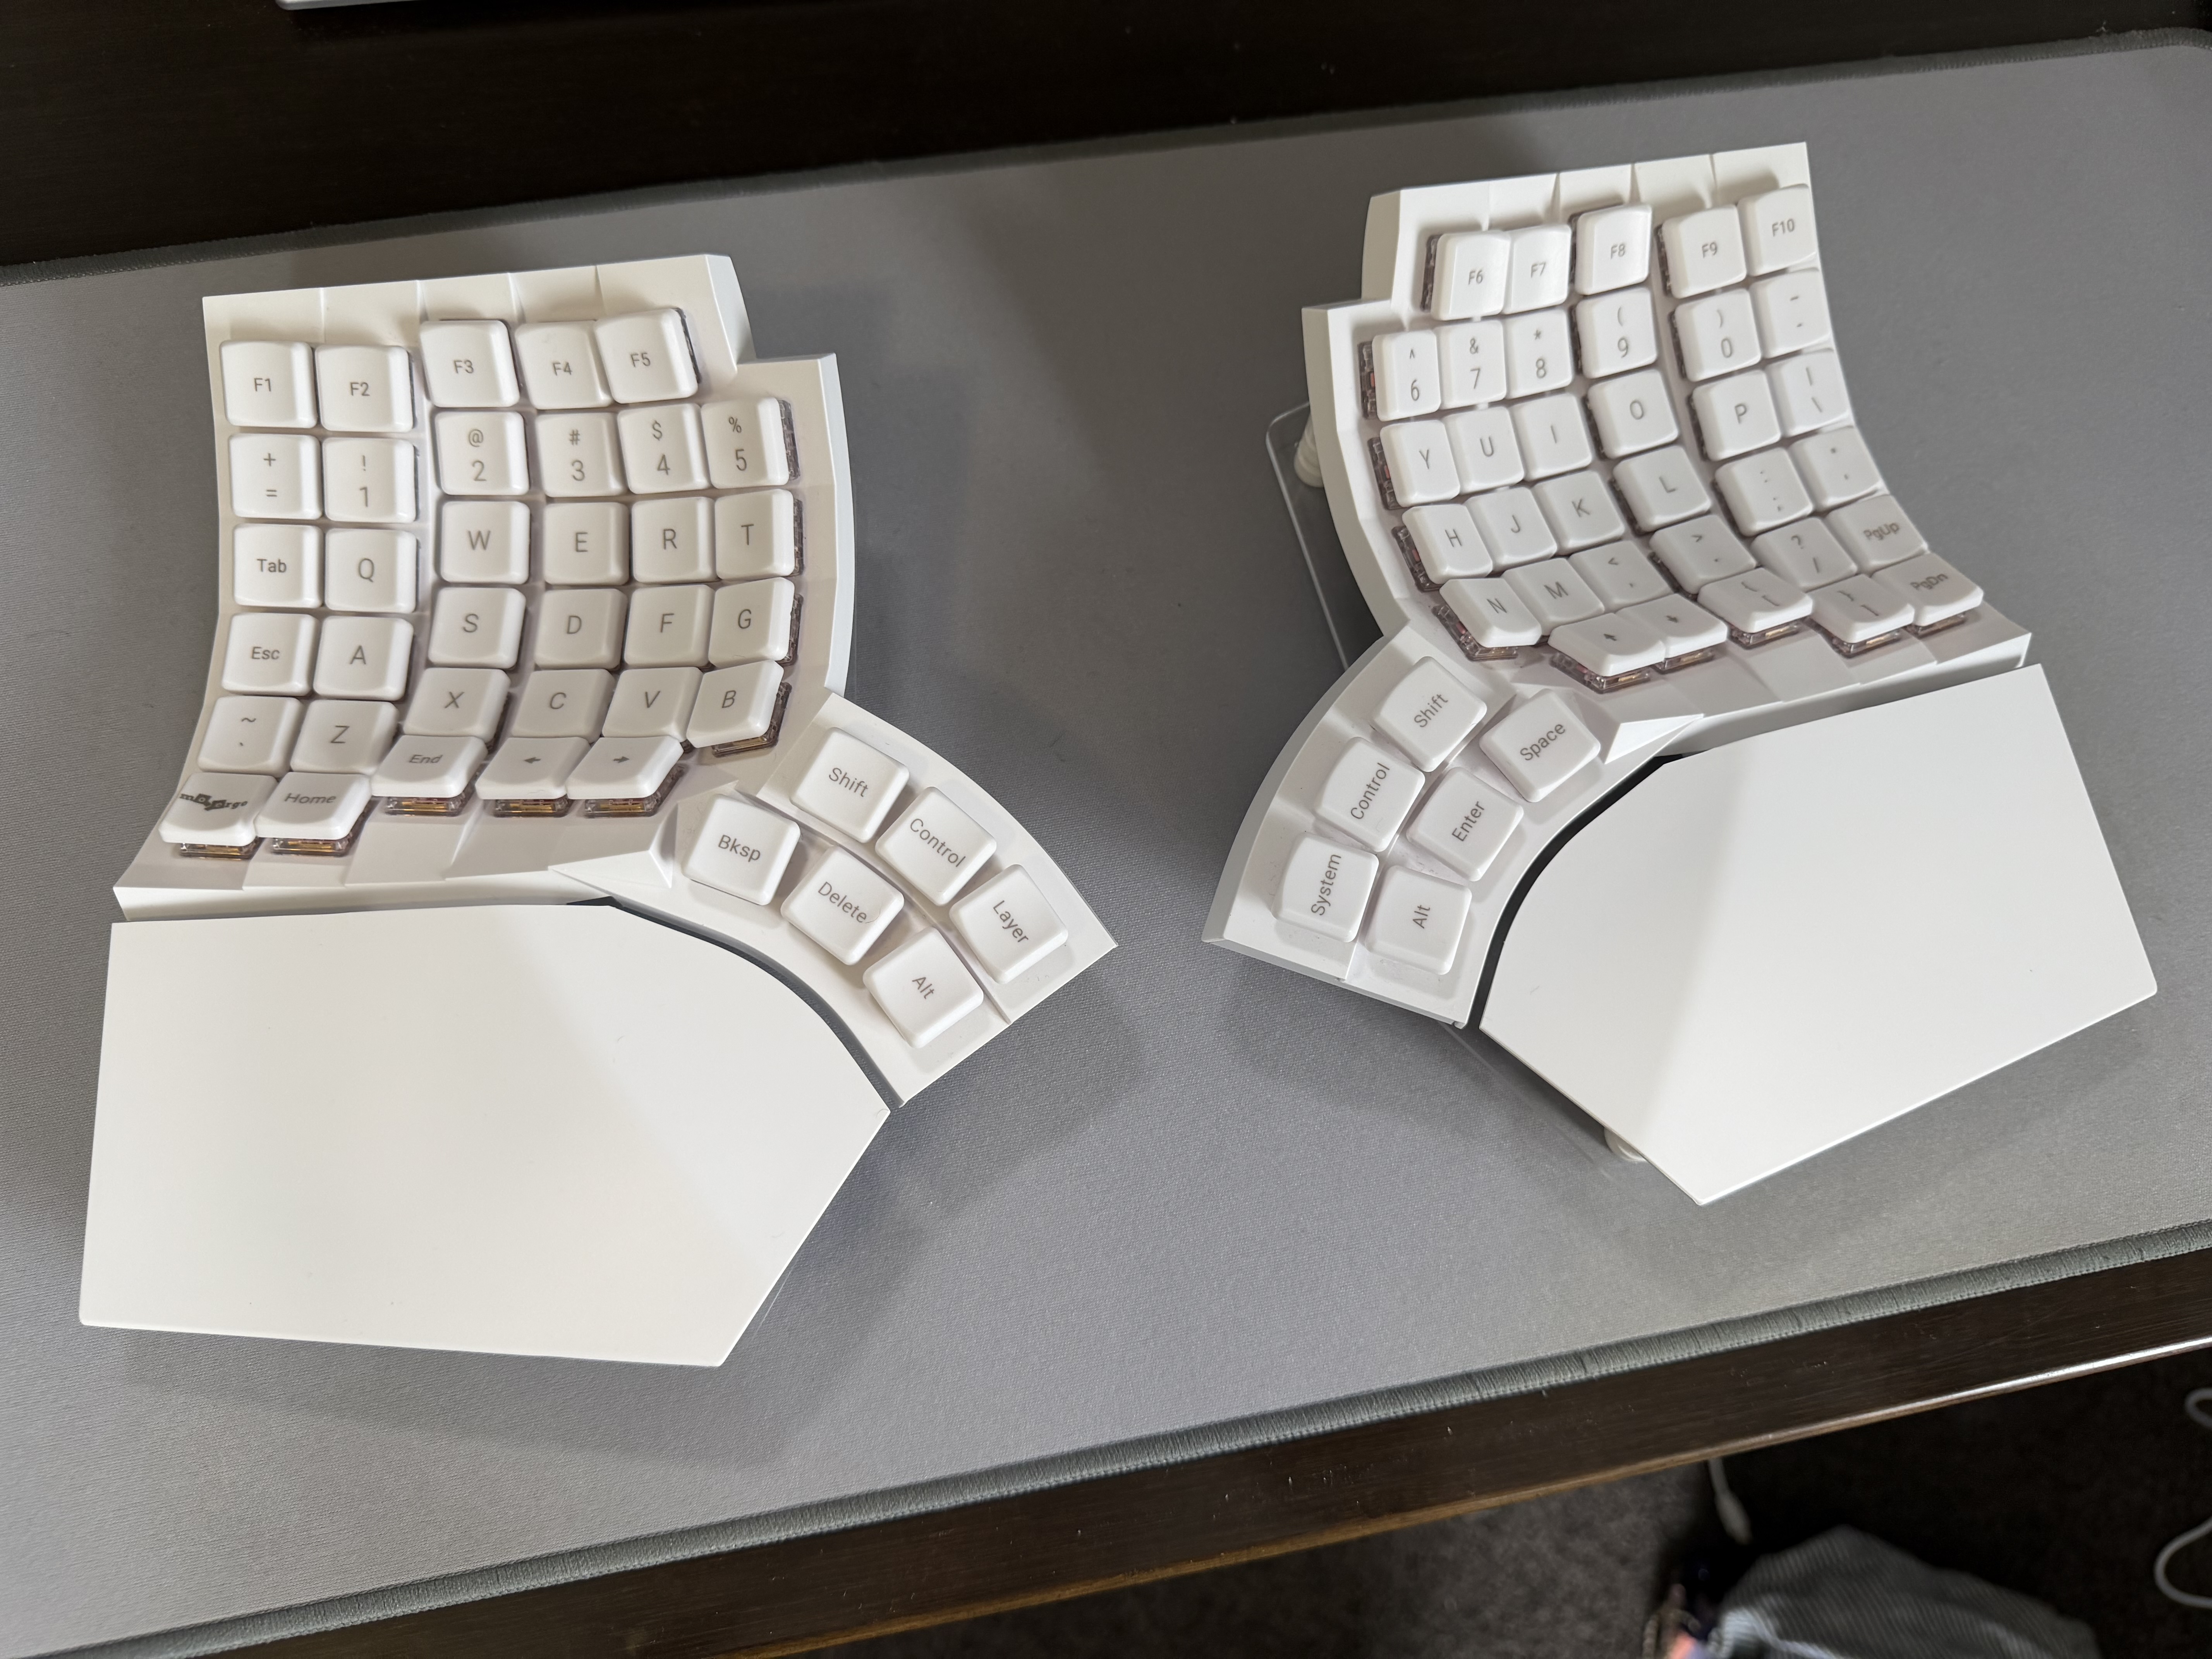
Overall, the keys used by the Miryoku layout on the Glove80 are sensible. Of course, 46 of them go to waste, but that’s unavoidable.
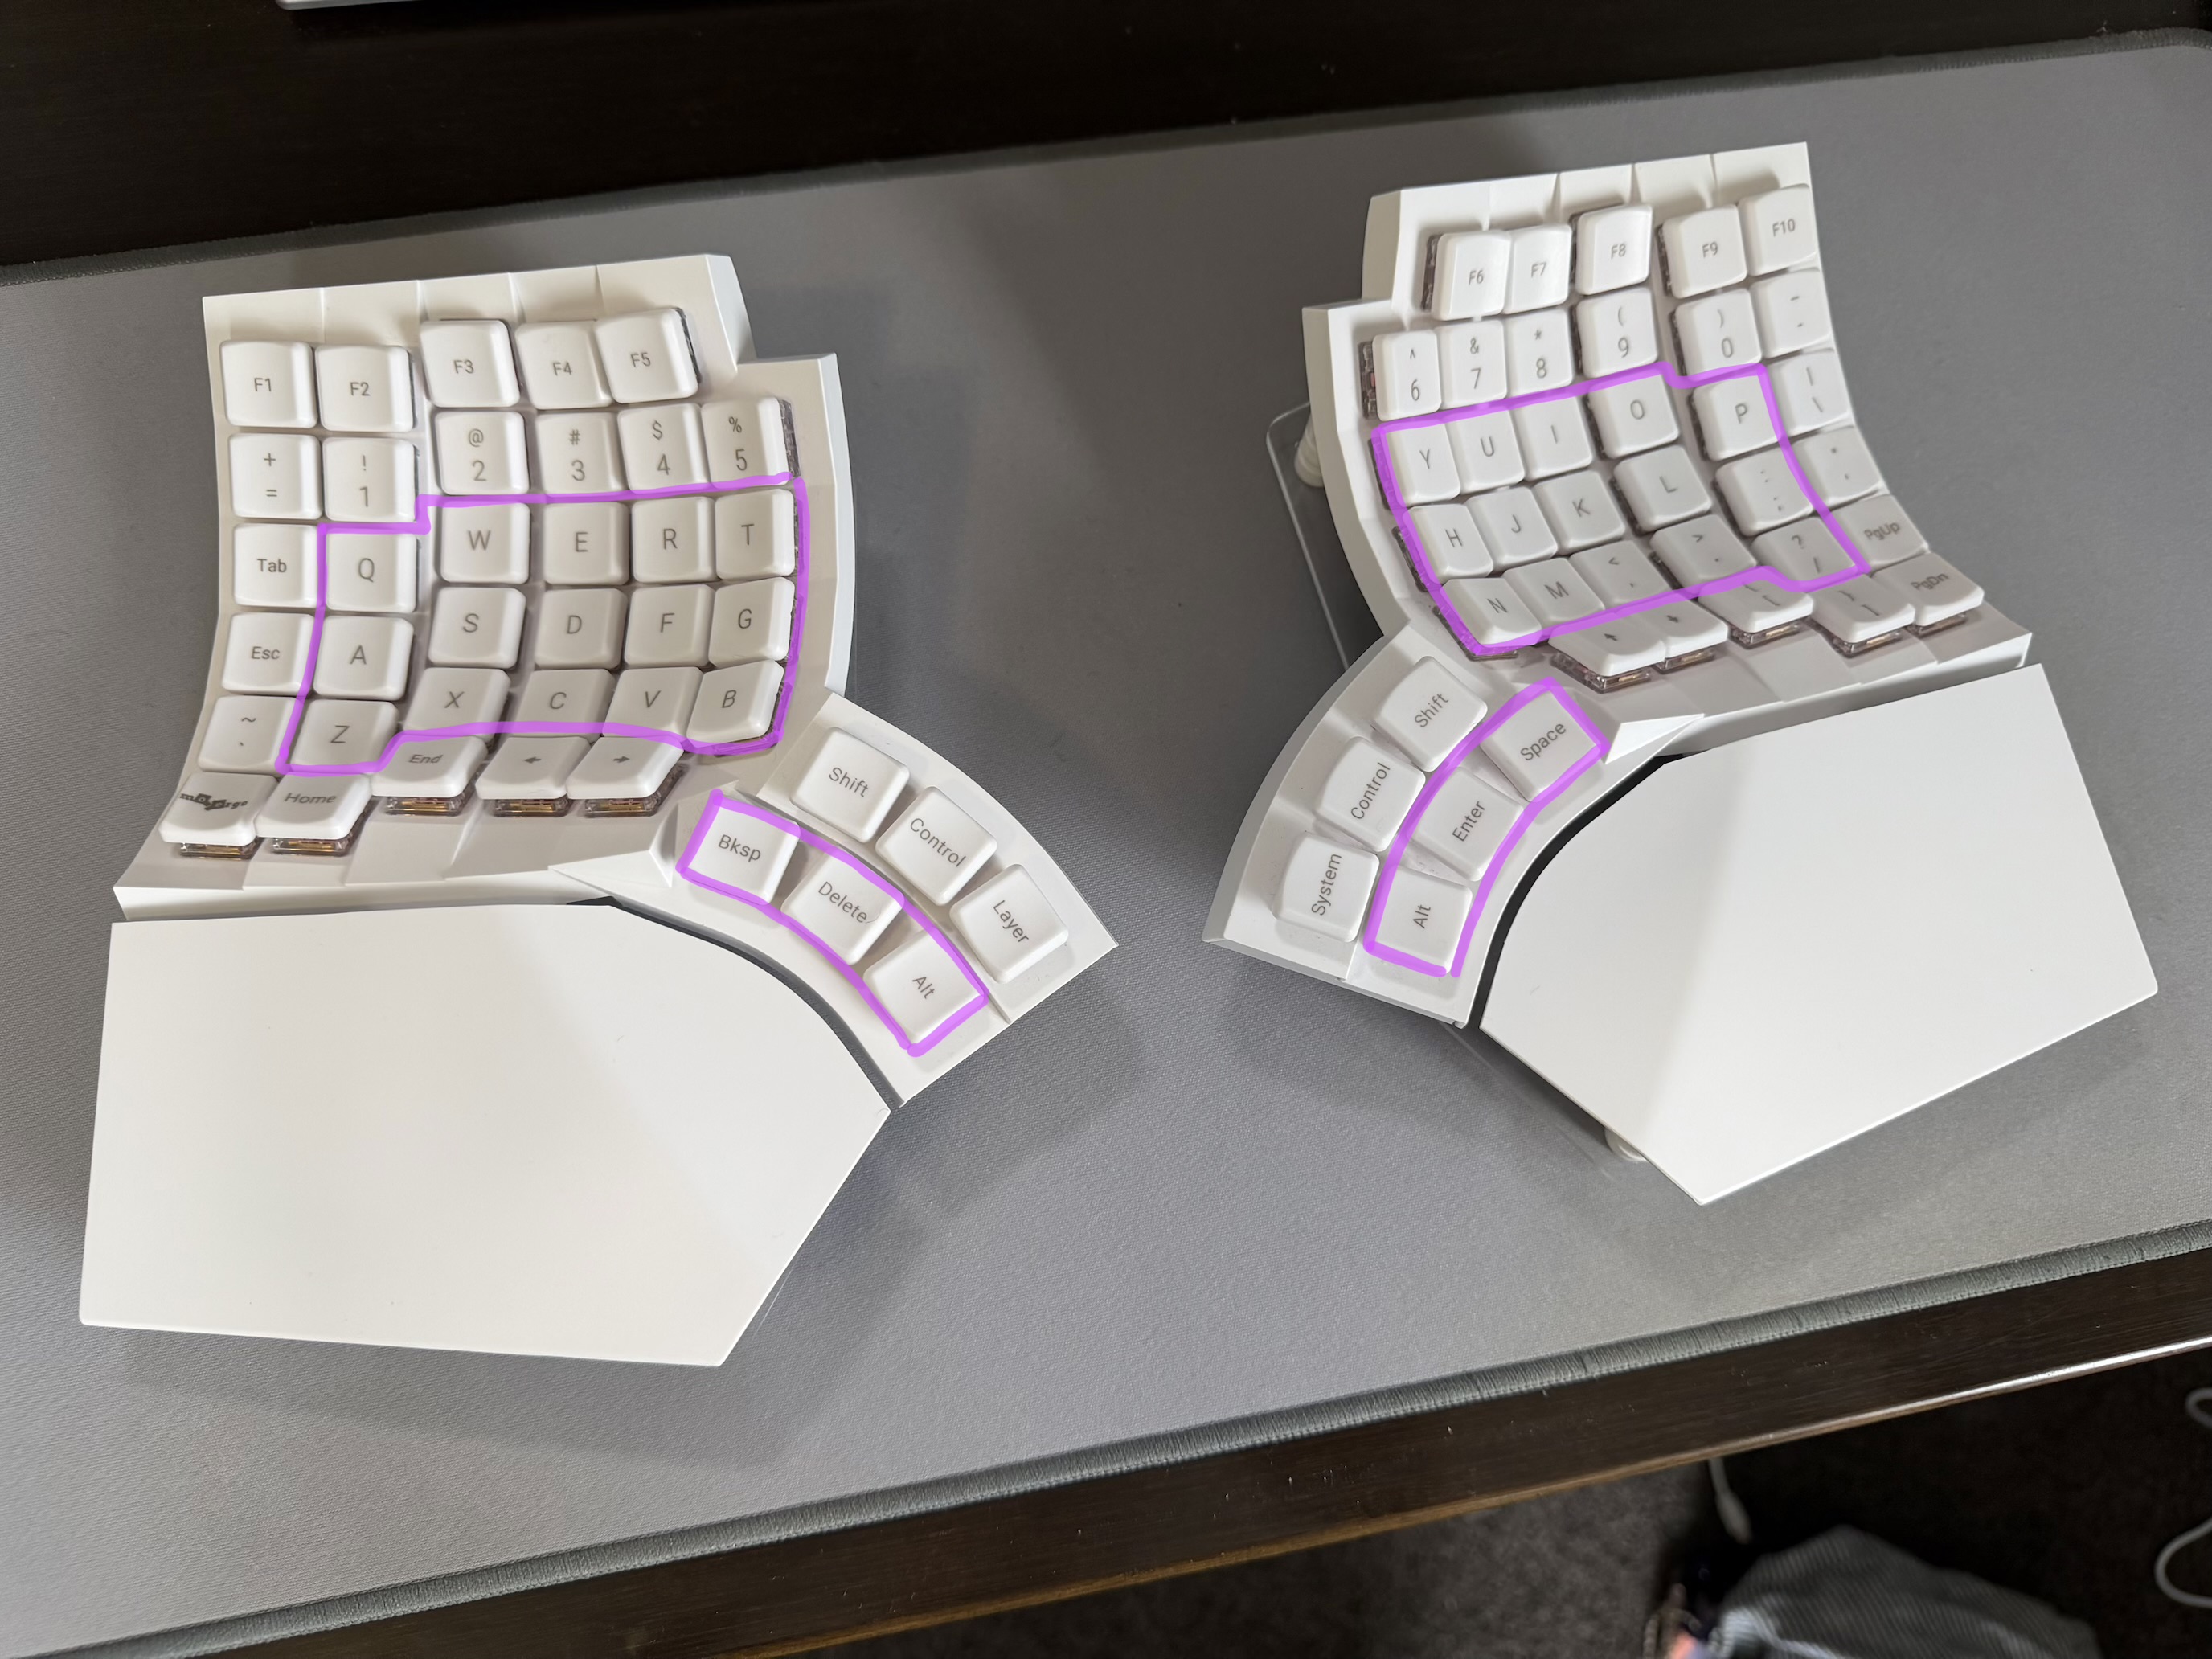
My one complaint is that the innermost thumb key is slightly too much of a stretch.

To get around this, I shifted the two innermost thumb cluster keys outwards and moved the outermost thumb key to the top row.

The resulting triangular cluster is much more comfortable.
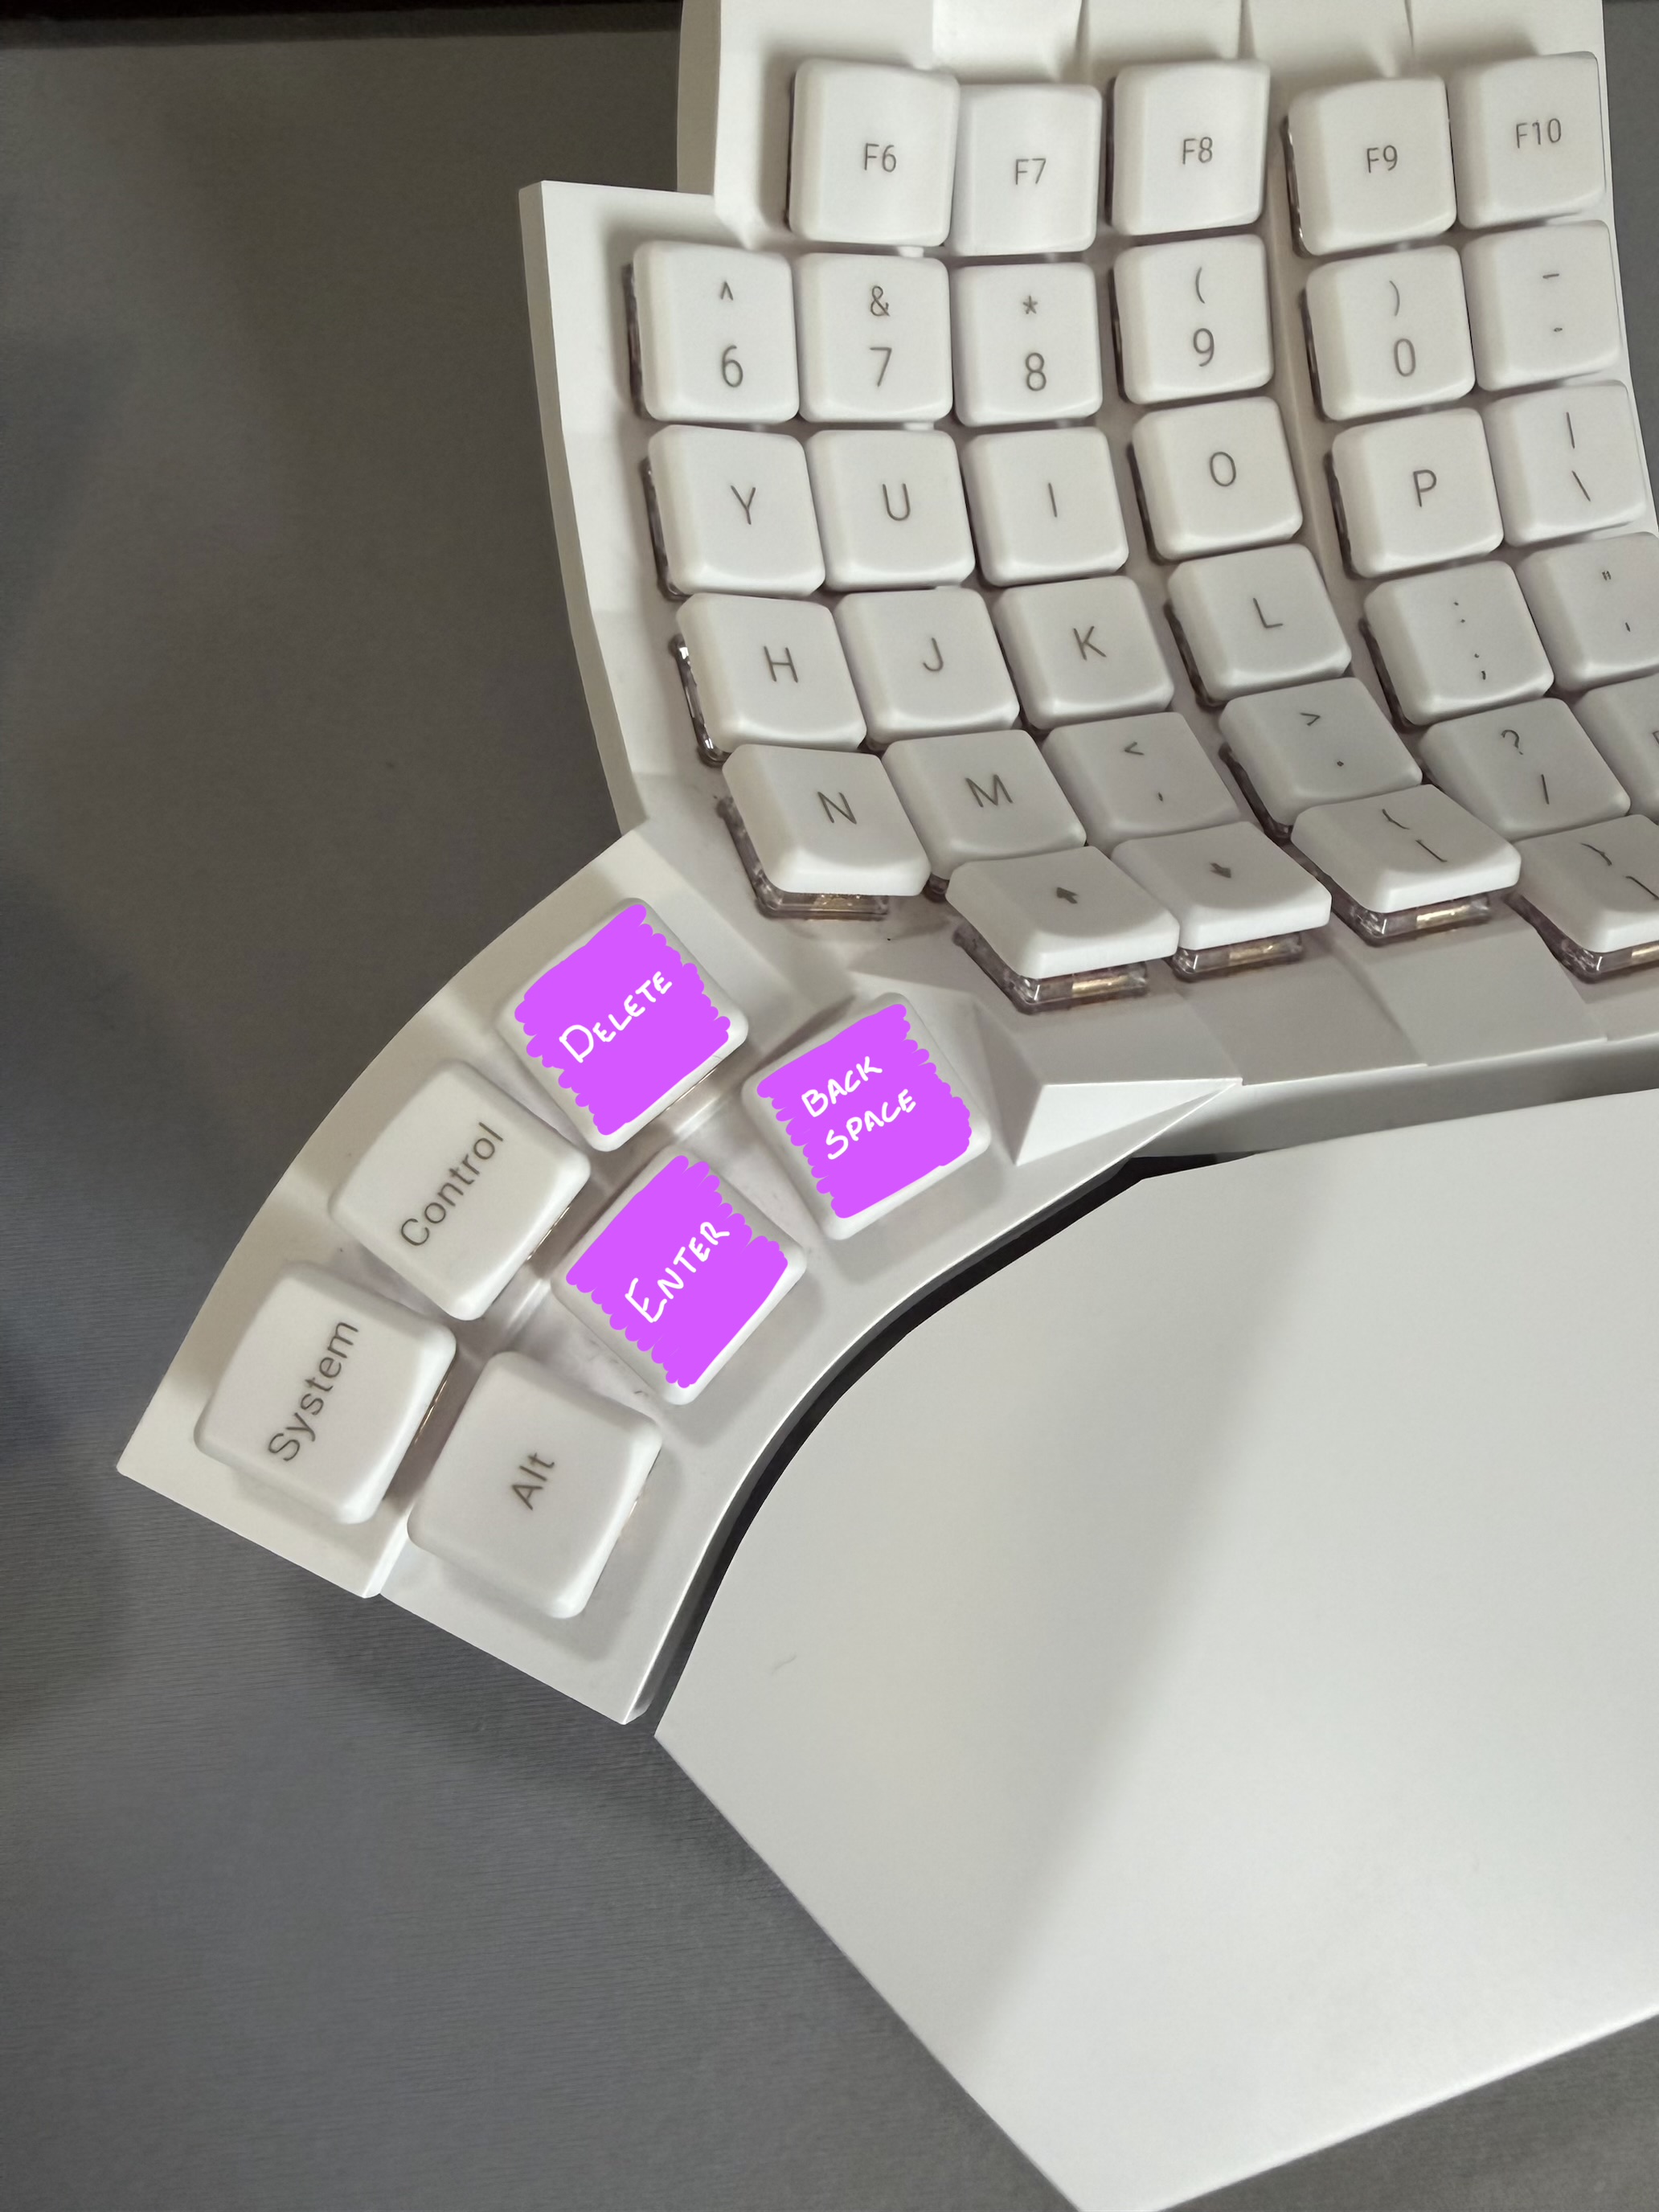
I achieved this by making a small change to miryoku/mapping/80/glove80.h (you can see the thumb clusters in the centre of the bottom two lines), which leads me on to the next section…
#define MIRYOKU_LAYOUTMAPPING_GLOVE80( \
     K00, K01, K02, K03, K04,                                    K05, K06, K07, K08, K09, \
     K10, K11, K12, K13, K14,                                    K15, K16, K17, K18, K19, \
     K20, K21, K22, K23, K24,                                    K25, K26, K27, K28, K29, \
     N30, N31, K32, K33, K34,                                    K35, K36, K37, N38, N39 \
) \
XXX  XXX  XXX  XXX  XXX                                               XXX  XXX  XXX  XXX  XXX \
XXX  XXX  XXX  XXX  XXX  XXX                                     XXX  XXX  XXX  XXX  XXX  XXX \
XXX  K00  K01  K02  K03  K04                                     K05  K06  K07  K08  K09  XXX \
XXX  K10  K11  K12  K13  K14                                     K15  K16  K17  K18  K19  XXX \
XXX  K20  K21  K22  K23  K24  K32  XXX  XXX       XXX  XXX  K37  K25  K26  K27  K28  K29  XXX \
XXX  XXX  XXX  XXX  XXX       K33  K34  XXX       XXX  K35  K36       XXX  XXX  XXX  XXX  XXX
Building the firmware
Since the Glove80 is one of the Miryoku project’s supported keyboards, building the firmware is simple:
-
Fork the manna-harbour/miryoku_zmk repo.
-
Make any customisations necessary, like altering the layout file above. (Optional)
-
Build via the ‘Build Inputs’ workflow in the GitHub Actions tab. Because the Glove80 is a split board, you need to use the name
glove80_lh,glove80_rhas the ‘board’ name to produce a firmware file for each half. I also specify some additional configuration in the ‘kconfig’ field (see below).
Important variables to set
CONFIG_ZMK_HID_CONSUMER_REPORT_USAGES_BASIC=y: disables some consumer keycodes, but improves OS compatibility. Useful when connecting the board to macOS/iOS/iPadOS.CONFIG_ZMK_POINTING=y: enables mouse emulation.CONFIG_ZMK_SLEEP=y: allows the board to go into a deep sleep state during periods of inactivity. Without enabling this, battery life is extremely short (no more than a day).
Each variable needs to be separated by a newline character, e.g. CONFIG_ZMK_HID_CONSUMER_REPORT_USAGES_BASIC=y\nCONFIG_ZMK_POINTING=y\nCONFIG_ZMK_SLEEP=y.