Saturn60 keyboard build log
I’ve been building mechanical keyboards since 2020. And even though the number of weird and wonderful boards I’ve made is now in the double digits, I haven’t documented the process very well.
So, for my latest build – the 70s-inspired Saturn60 – the I decided to take some nice pictures and timelapses along the way.

Intro
I joined the group buy for the Saturn60 in October of 2020(!) and received it at the end of 2021. And if that wait wasn’t long enough, I dithered for most of 2022 working out what switches and keycaps I wanted to use. Eventually I plucked up the courage to build the thing after Christmas.
While I initially thought I would opt for a standard layout, I decided that nowadays I wouldn’t get much use out of the board unless it was ortholinear. Fortunately, the Saturn60 also accommodates a Boardwalk PCB and the runner of the group buy still had some matching plates in stock, well after the GB had finished.
Assembly
Building the Saturn60 is straightforward for the most part, but with a couple of fiddly/infuriating steps along the way. Fortunately, there is an excellent build guide.
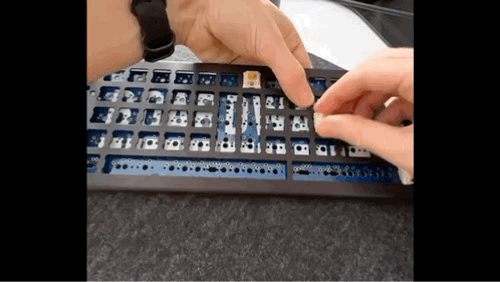
I started by mounting my switches1 onto their plate. Click to see the full timelapse in non-potato quality!
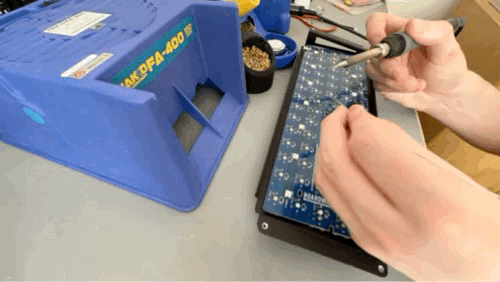
Following this, I soldered the switches to the PCB. As before, click for an equally boring, but much higher definition timelapse.
Next came the annoying part – sandwiching the plate/PCB in between the two halves of the case and screwing it all together. It sounds simple, but it’s fiendishly easy for the plate/PCB to get slightly wonky during this step. Once misaligned, not only will your keys look slightly off,2 but you risk not having enough clearance between them and the case, causing some of the keys to scrape.
Still, it wasn’t too bad in the end.
Until I realised I made a terrible mistake – I’d forgotten to attach the serial number plate on the back of the case. As you need access to both sides of the back case to attach this plate, I was forced to take the whole keyboard apart.

(No doubt you can feel the rage emanating from this photo.)
But I got done. Again.
Keycaps

Adorning the assembled board is a set of SA SAIL keycaps. The set is based on a keyboard used in the Stanford Artificial Intelligence Lab in the early 70s. Everything about these keycaps is perfect. The colour, the mathematical symbols on the legends, the profile – everything.
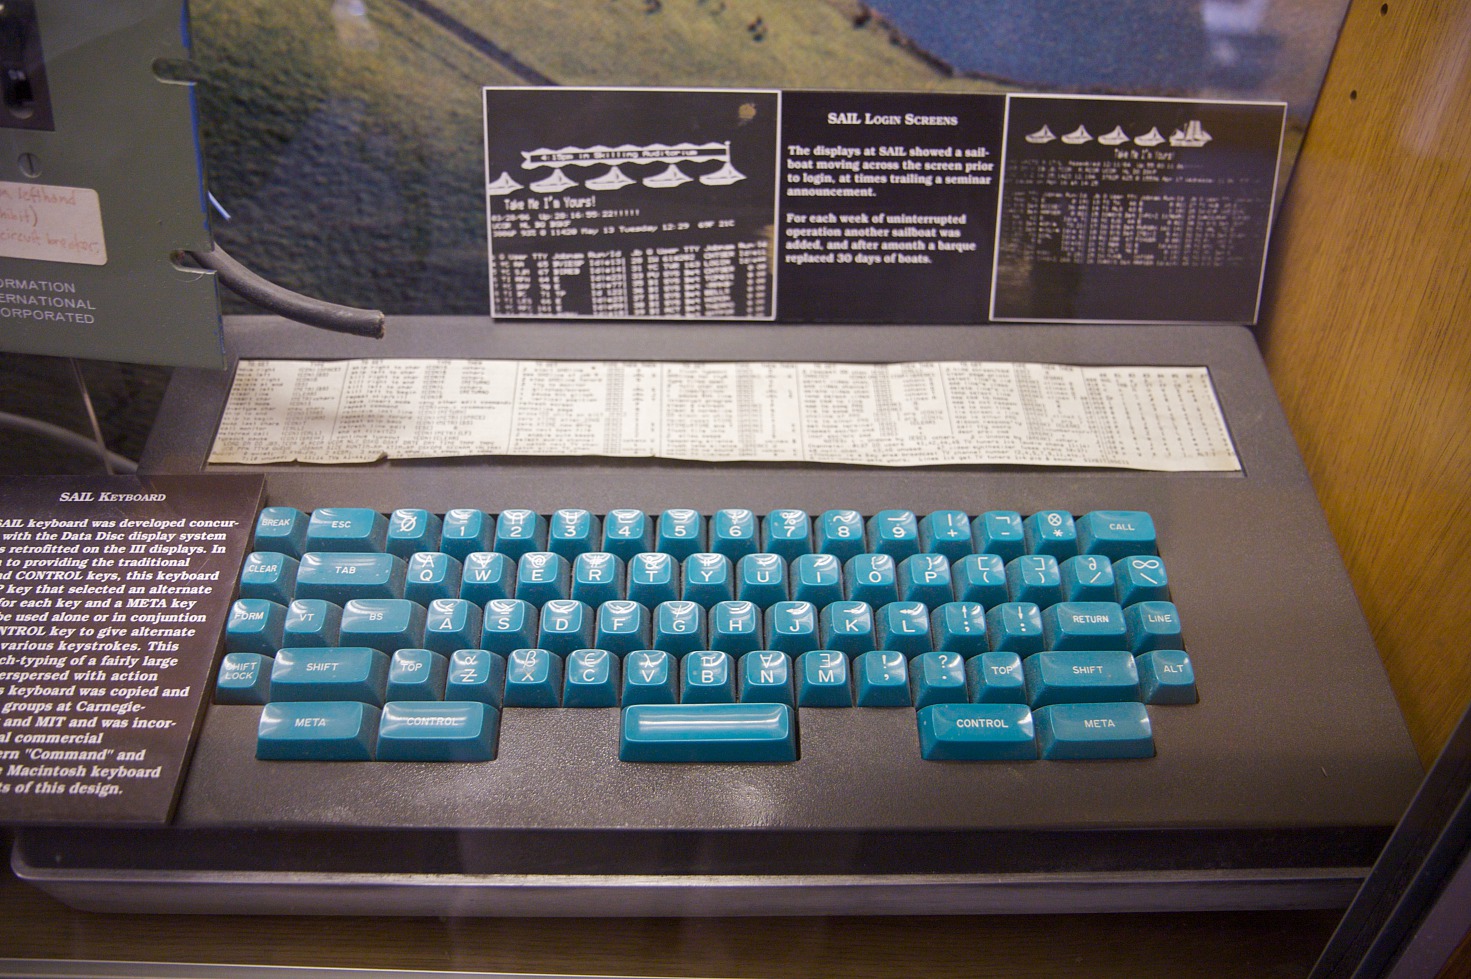 The original SAIL keyboard. Image credit: Marcin Wichary, CC BY 2.0
For the past 18 months or so I’ve been trying to hunt down a set secondhand and finally lucked out. MyKeyboard.eu had some (new!) sets available and I couldn’t resist.3 Honestly, I’m not even sure how they ended up with these in stock. Not that I’m complaining, of course.
Details
![]()


Closing thoughts
I had a blast building this keyboard and am really happy with the result. It may have taken a few years, but the outcome more than justifies the wait!